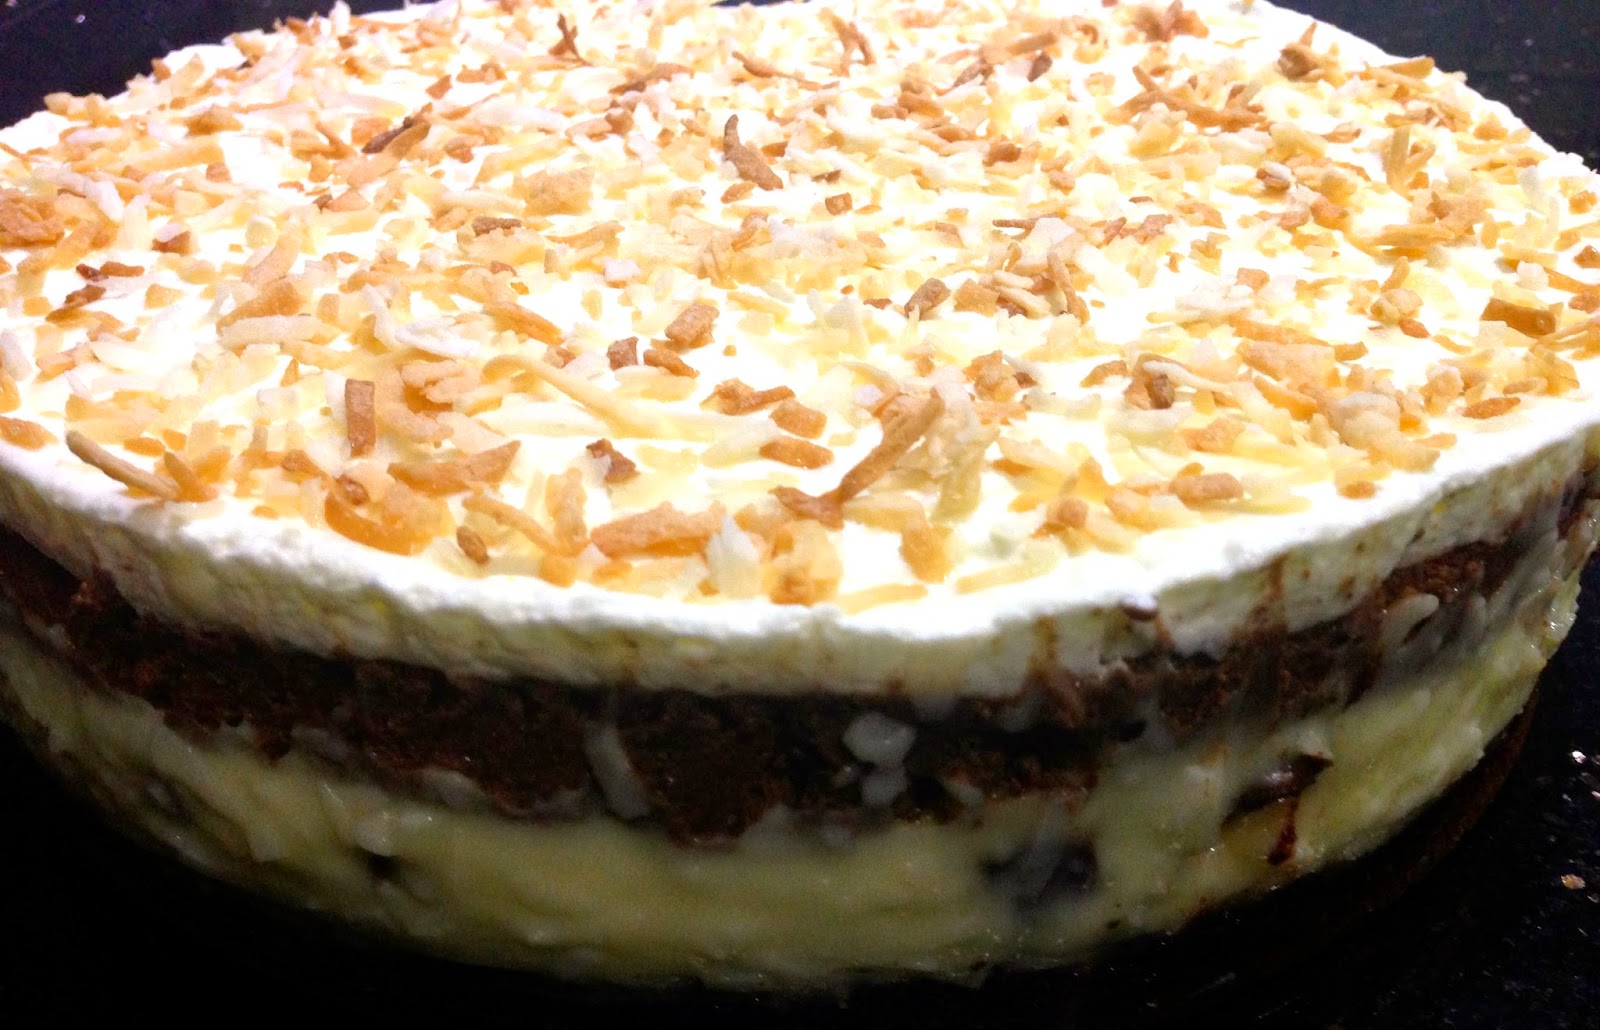
 Four layers make up this culinary masterpiece: moist chocolate brownie lines the bottom, which is topped with decadent coconut cream, followed by heavenly chocolate mousse and a final layer of fresh whipped cream and toasted coconut.
Ingredients:
Brownie Layer
1 recipe of your favourite brownies (baked in a 9-inch springform pan)
*Since I was short on time, I used a pre-made brownie-mix.
Coconut Cream Filling
1 1/2 cup half-and-half
1 1/2 cup coconut milk
2 eggs
3/4 cup white sugar
1/4 cup plus 4 teaspoons cornstarch
1/4 teaspoon salt
3/4 cup flaked coconut
1/4 teaspoon coconut extract
1/4 teaspoon vanilla extract
2 tablespoons semisweet chocolate chips
Chocolate Mousse
4 ounces semisweet chocolate chips
1/3 teaspoon vanilla extract
1 cup chilled whipping cream
2 tablespoons icing sugar
1/2 teaspoon gelatin
1 1/2 teaspoon cold water
Whipped Cream Topping
3/4 cup chilled heavy whipping cream
2 tablespoons icing sugar
3/8 teaspoon gelatin
1 1/8 teaspoon cold water
Toasted coconut
Directions:
Brownie Layer
- Bake brownie recipe of your choice in a 9-inch springform pan.
- Remove from oven and let cool completely.
Coconut Cream Filling

- Combine the half-and-half, coconut milk, eggs, sugar, cornstarch, and salt in a medium microwave-safe bowl.
- Microwave it for 6-8 minutes, whisking well after each minute, until it’s thickened.
- Once the mixture is thickened, add coconut extract, vanilla extract and the coconut and stir.
- Pour half of this filling over your brownie layer, sprinkle on the 2 tablespoons of chocolate chips, and then pour the rest of the filling.
- Place in the fridge to chill until firm, about 2 to 4 hours.
Chocolate Mousse
- Place the semisweet chocolate chips in a medium bowl.
- Bring 1/3 cup cream to boil in a microwave-safe dish in the microwave. Pour it over the chocolate and let it sit for 2 minutes before gently whisking it to a smooth ganache. Cool to room temperature, stirring occasionally.
- Place cold water in a small dish and sprinkle gelatin over it to soften for 10 minutes. Heat it for 30 seconds in the microwave and whisk it with a fork to dissolve the gelatin.
- In a chilled mixing bowl, beat 2/3 cups cold whipping cream and icing sugar in to stiff peaks, adding gelatin mixture and vanilla extract halfway through.
- Fold the cream into the chocolate mixture and pour the mousse onto set coconut filling.
- Chill until set, about 6 hours or overnight.
Whipped Cream Topping
- Place cold water in a small dish and sprinkle gelatin over it to soften for 10 minutes. Heat it for 30 seconds in the microwave and whisk it with a fork to dissolve the gelatine.
- In a chilled mixing bowl, whip the cream and icing sugar to stiff peaks, adding gelatin mixture halfway through.
- Top the cake with the whipped cream and sprinkle with toasted coconut.
*To toast coconut, preheat oven to 350, spread coconut onto a cookie sheet and bake for 10 minutes, or until browned.
Place the cake in the fridge until ready to serve. When removing the cake from the springform pan, be careful, as it can easily lose its shape.
Yields: 10-12 servings
Verdict: Sweet, sweet, sweet! But it turns any frown upside down!
Total Prep Time: 3 hours
Baking Time: 30 minutes (for brownies)
Rating: 8.5/10
I am definitely adding this to my memories for later, because I will definitely attempt to do pieces of this, if not the whole thing.
ReplyDeleteSeriously, that cake looks ridiculous(ly awesome). Thanks for sharing.